
Last updated November 17, 2026
 Home additions & ADU
 Kitchen remodeling
 Bathroom remodeling
 Roofing
 Windows & doors
 Driveway & pavers
 Fence
Free written scope consultation - allowances, timeline, and change-order rules on paper before a single trade is scheduled
Home Additions & ADU Maintenance Schedule: What to Do and When
Las Vegas gets more sun per square foot than nearly any metro in the country, and that changes the maintenance math on an addition or ADU. The sealant at your tie-in point doesn’t fail on the timeline printed on the tube. It fails on a faster clock, because 110-degree afternoons bake the caulk and the flashing from both sides and a UV index that tops out most summer days does the rest. We’ve walked additions in Las Vegas that were five years old and already wicking water at the old-to-new seam. This guide lays out the annual rhythm that keeps that from happening, what to check yourself, and what to hand to a pro.
Quick Answer
Inspect your addition or ADU at the tie-in seam, the roof transition, and the utility connections once a year, ideally each spring before the heat arrives. In Las Vegas, caulk and flashing at that seam need re-inspection every 12 months rather than the 3-5 years national schedules suggest, and the electrical panel plus any shared sub-meter need a look on the same cycle. Everything else follows your main home’s normal maintenance calendar.
Styles & brands we work with
- Kitchen remodeling
- Bathroom remodeling
- Home additions & ADU
- Roofing
- Windows & doors
- Driveway & pavers
- Fence
Table of Contents
- Annual Inspection Checklist: The Old-to-New Connection
- Las Vegas Failure Timeline: Caulk, Stucco & Flashing
- Foundation Movement Monitoring You Can Do Yourself
- Utility Sub-Meter & Electrical Panel Inspection Schedule
- ADU Appliance & Mini-Split Calendar: Who Maintains What
- The Four-Season Maintenance Calendar
- Permits, Records & Warranty Paperwork to Keep
Annual Inspection Checklist: The Old-to-New Connection
An addition shares most of your home’s maintenance schedule, but it has three failure points your main house doesn’t: the structural tie-in seam, the shared utility connections, and the exterior envelope transition where new meets old. Those three spots are where water and heat find their way in, and they’re where a ten-minute walkthrough once a year saves you a five-figure repair later. We’ve seen additions in the northwest valley where the interior floor level drifted a quarter inch from the main house after a single wet winter, and nobody noticed until the baseboard pulled away from the wall.
Here’s the annual checklist we run on our own addition and ADU work, and what we’d suggest you run on yours:
- Roof transition: Look at the valley where the addition roof meets the main roof. Check for lifted flashing, missing sealant, granule loss on shingles, or any staining below the joint on the underside of the eave.
- Exterior wall seam: Walk the vertical joint where new stucco meets old. Press a fingernail into the caulk bead. If it dents like a pencil eraser or has pulled away from either side, it’s due for replacement.
- Interior floor level match: Stand at the doorway between old and new. Lay a 4-foot level across the threshold. A gap under either end bigger than 1/8 inch is worth measuring with a crack gauge.
- Window and door seals: Open and close each one slowly. Any daylight at the frame means the weatherstripping or caulk has let go.
- Utility penetrations: Find where plumbing, gas, and electrical lines pass through the new wall. Every one should have a sealed boot or caulk collar with no gaps.
- Site drainage: Look at the ground where the addition sits. If soil has settled away from the foundation so water pools against the new wall, that’s a graded slope to fix before monsoon season.
That’s the core of it. For the bigger picture on how an addition integrates with your existing structure, see our main page on Home Additions & ADU in Las Vegas.
Las Vegas Failure Timeline: Caulk, Stucco & Flashing
Standard national maintenance schedules say to re-caulk exterior seams every three to five years and re-inspect roof flashing every two. That schedule is written for a climate with mild summers and regular rain. Las Vegas doesn’t work that way.
What actually happens here is this: the UV index pushes 11 or higher on many summer days, which breaks down the polymer chain in exterior-grade caulk roughly twice as fast as in Phoenix or Tucson, because Las Vegas sits higher and drier with fewer clouds to block the sun. Daytime-to-nighttime temperature swings of 30 degrees or more work the seams constantly. And the handful of summer monsoon weeks a year dump a lot of water into a system that hasn’t seen rain in months. Add it up, and the caulk and flashing at your tie-in point should be re-inspected every 12 months and re-caulked every 24-36 months, not every 3-5 years.
Here’s how we think about the Las Vegas timeline by component:
- Exterior caulk (seams, penetrations, window edges): Inspect annually, plan on replacement every 2-3 summers.
- Stucco sealant and paint: Re-seal the caulk joints annually, re-paint or re-coat every 5-7 years depending on sun-facing orientation.
- Roof flashing at the transition: Inspect every spring, re-seal every 2-3 years, replace damaged flashing when you see lifting or rust.
- Roofing material itself: An asphalt shingle rated for 25 years on paper may give you 15-18 in direct Las Vegas sun. Tile and concrete products hold up better, and if you’re using premium brands like Boral on the next roof, the rated lifespan is closer to reality.
- Window seals and gaskets: Inspect annually, expect fogged dual-pane units on south and west exposures sooner than on north-facing windows.
We schedule our own reminder walkthroughs in April, before the heat load climbs. If you’re planning a new fence around an addition or a new driveway approach, the same UV logic applies to those materials, which you can read about on our Driveway & Pavers in Las Vegas and Fence Installation in Las Vegas pages.
Foundation Movement Monitoring You Can Do Yourself
Las Vegas soil expands and contracts with moisture in ways that surprise people moving here from the Midwest. Expansive clay under a good portion of the valley, combined with dry summers and the occasional wet winter, can move a foundation a fraction of an inch in a single season. An addition has an added factor: the new slab or foundation hasn’t finished settling even after a few years, while the original structure settled long ago. That mismatch is why the seam between old and new is the first place you’ll see a crack.
The good news is that you can monitor this yourself with about $20 in hardware and ten minutes a year.
- Get a crack gauge. A simple plastic tell-tale with two plates that slide past each other installs on either side of a crack or seam. Screw it into the wall or floor with the plates aligned on a marked baseline.
- Mark the baseline. Date and photograph the initial reading. Write the measurement on the gauge itself so you don’t have to remember.
- Check it every six months. Any change of 1/16 inch (about 1.5 mm) or more, or any crack that lengthens by more than a quarter inch, means it’s time to call a structural engineer.
- Watch door and window alignment as a free secondary signal. If an interior door in the addition starts sticking in summer but not winter, the structure is working. If it sticks year-round and gets worse, that’s movement worth measuring.
- Photograph the tie-in seam every spring. A dated photo series is the single best thing you can hand an engineer or your contractor.
Don’t try to diagnose the fix yourself. Foundation work is where a small unchecked movement turns into a big bill.
Utility Sub-Meter & Electrical Panel Inspection Schedule
An ADU or addition that taps into your main electrical service and water line shares load in a way the original panel was never designed for. If the addition has its own subpanel, that’s fine. Whether it does or not, the annual check matters.
Here’s the schedule we suggest:
- Electrical panel inspection: Once a year, have a licensed electrician open the panel and check for heat discoloration on breakers, loose lugs, and any sign of double-tapped breakers. This isn’t a DIY task. Panel work is one of the fastest ways to get hurt or to create a fire risk. Hand it to a professional.
- Sub-meter reading: If the ADU has its own sub-meter, log the reading monthly. If consumption jumps 20% or more without a change in occupants or appliances, something is drawing more than it should, and it’s worth tracing before it becomes a surprise bill.
- GFCI and AFCI test: Once a month for ground-fault outlets (kitchen and bath in the ADU), press the test button. If it doesn’t trip cleanly, replace the outlet.
- Load audit every 3 years: Add up your main-panel load with any new appliances, EV chargers, or heat pump equipment that have been installed since the addition was built. New loads creep up. A panel that was fine in year one may be overcommitted by year ten.
Shared-load issues are how an ADU quietly falls out of code compliance. If you haven’t had your panel looked at since the addition was signed off, that’s the first call to make.
ADU Appliance & Mini-Split Calendar: Who Maintains What
Whether you rent out the ADU, host family in it, or use it as an office, warranty coverage depends on documented maintenance. Miss the annual check on the mini-split and the manufacturer can deny a compressor claim. Miss the water heater flush and the tank warranty can become a fight.
The cleanest way to stay ahead of it is to draw a line in the lease between tenant-responsible and owner-responsible work. Here’s how we split it, and it holds up whether it’s family in there or a paying tenant:
- Tenant-responsible: Filter cleaning on the mini-split indoor head (monthly in summer, quarterly the rest of the year), keeping condensate drain clear, reporting any leak or drip immediately, and replacing light bulbs.
- Owner-responsible: Annual professional mini-split service (coil clean, charge check, refrigerant inspection), water heater flush (every 12-18 months in Las Vegas’s hard water), refrigerator coil cleaning, and any appliance repair.
- Document everything. Keep the service dates and invoices in a folder. Most manufacturers require proof of scheduled maintenance to honor the full warranty, and the paper trail is what makes the difference.
On hard-water-heavy parts of the valley, water heater flush cycles should lean toward every 12 months rather than 18. If you’re seeing sediment tint in the hot water, you’re already behind.
The Four-Season Maintenance Calendar
Las Vegas doesn’t give you four distinct seasons, but the maintenance cycle still has four useful checkpoints. Here’s how we schedule our walkthroughs and what each one catches.
- Spring (March-April): The big one. Re-inspect the roof transition and exterior wall seam before heat load climbs. Re-caulk any seams showing wear. Test smoke and carbon monoxide detectors. Clear roof drains and scuppers before monsoon. Have the mini-split serviced. Photograph the tie-in seam.
- Early summer (May-June): Check the AC or heat pump filter, confirm the mini-split in the ADU is running clean, and confirm exterior drainage around the addition graded correctly. Adjust any irrigation that has shifted against the new wall.
- Late summer / monsoon (July-September): After the first big storm, do a quick pass on the interior side of the roof transition and the addition walls. Look for staining on drywall ceilings or on exterior stucco. Water intrusion shows up here first. Check weatherstripping on exterior doors.
- Fall (October-November): Second big inspection. Re-check caulk and stucco, confirm the panel is cool to the touch, check appliance documentation is current, and confirm the foundation tell-tales still read as expected going into the dry season.
For context on how this schedule fits with the rest of your house, our main Barrett & Sons Construction Las Vegas home page covers the services where these checks fit in.
Permits, Records & Warranty Paperwork to Keep
An addition or ADU that passes inspection on day one is fine. The question is what happens five years later when you sell the house, refinance, or file a warranty claim. The permit file and the as-built drawings matter. They’re what proves the work was done right and what the inspector signed off on.
Every eligible job we do gets its permits pulled and its inspections signed, and we hand the homeowner a complete file. If your contractor at the time talked you out of a permit, or never delivered the paperwork, get a copy from the county before you need it. If you can’t find it, an architect or a licensed engineer can draw as-builts for a fee, but it’s cheaper and easier to have the original file.
The records to keep current:
- Original building permit and final inspection sign-off. Scan it. Keep a physical copy and a digital one.
- As-built drawings (foundation, framing, mechanical, electrical, plumbing).
- Appliance and equipment manuals with serial numbers. Photograph the data plates.
- Service records. Mini-split, water heater, panel inspection, roof inspection. Dated and signed.
- Warranty documentation on roofing, windows, and any premium brand materials (GAF, CertainTeed, PGT, and similar) installed at the time.
That folder is worth more than most people think when the house goes on the market.
Common Mistakes to Avoid
- Skipping the tie-in point because “it looks fine.” Caulk at the seam can look intact from six feet away and be fully failed up close. Get your face near it once a year and press on it. In Las Vegas, the failure happens inside the bead, not on the surface.
- Following the national maintenance schedule. Every manufacturer rates their caulk and flashing for a 3-5 year service interval at moderate exposures. Our UV and heat load cuts that in half. Treat 3-5 years as 12-18 months.
- Never opening the electrical panel. If nobody has looked inside that panel since the addition was signed off, you’re guessing. Panels don’t fail politely; the first sign can be a hot cover or a tripped main on a hot day.
- Assuming the tenant is handling the mini-split. If the lease doesn’t say who changes the filter and who services the coils, nobody does, and the compressor warranty is void by year three.
- Not photographing the seam every spring. Year-over-year photos are the single best diagnostic for slow movement. Without them, you can’t tell whether a crack is new.
- Letting a small crack become a structural question. A crack that hasn’t moved in two years is cosmetic. A crack that grew a quarter inch in a winter is worth measuring with a gauge and worth an engineer’s attention.
- Burying the paperwork. The permit file, appliance data plates, and service records are the difference between a smooth sale and a stressful one. Scan them and store them.
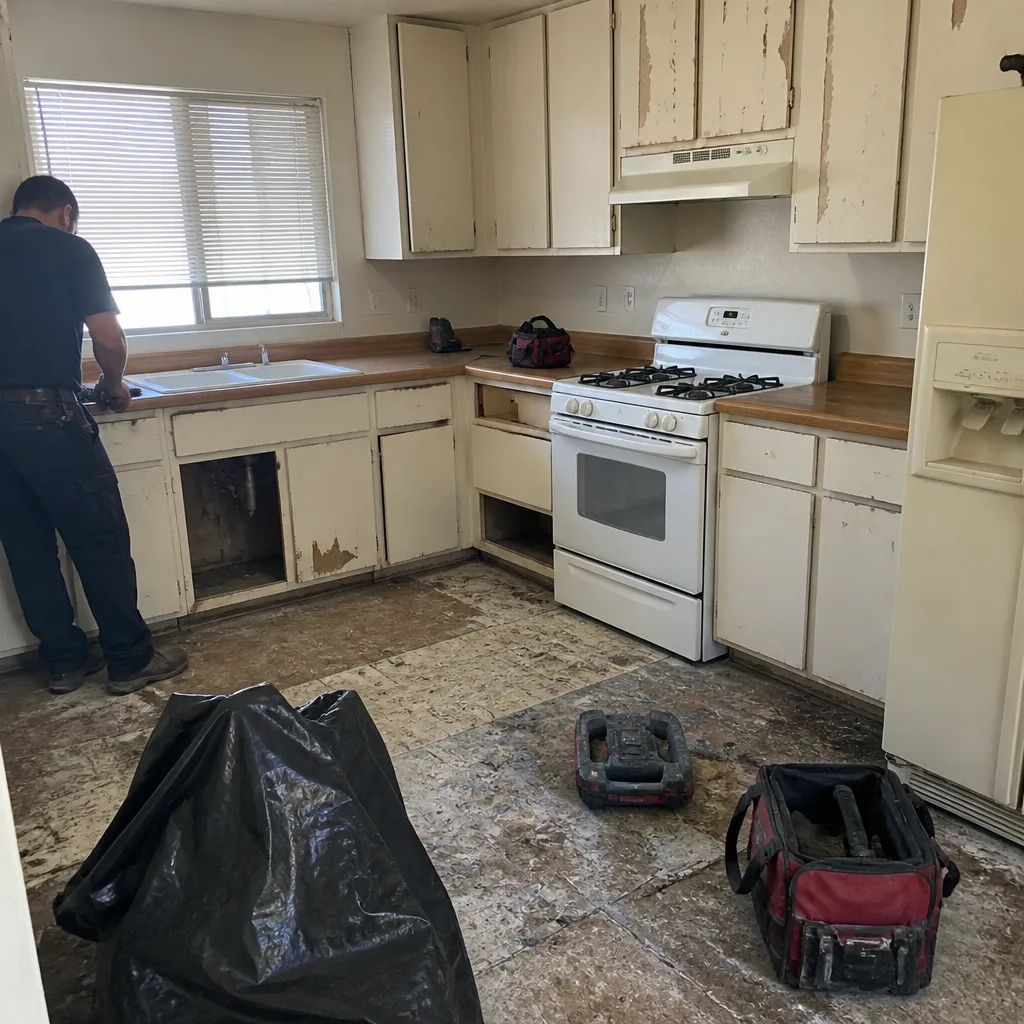
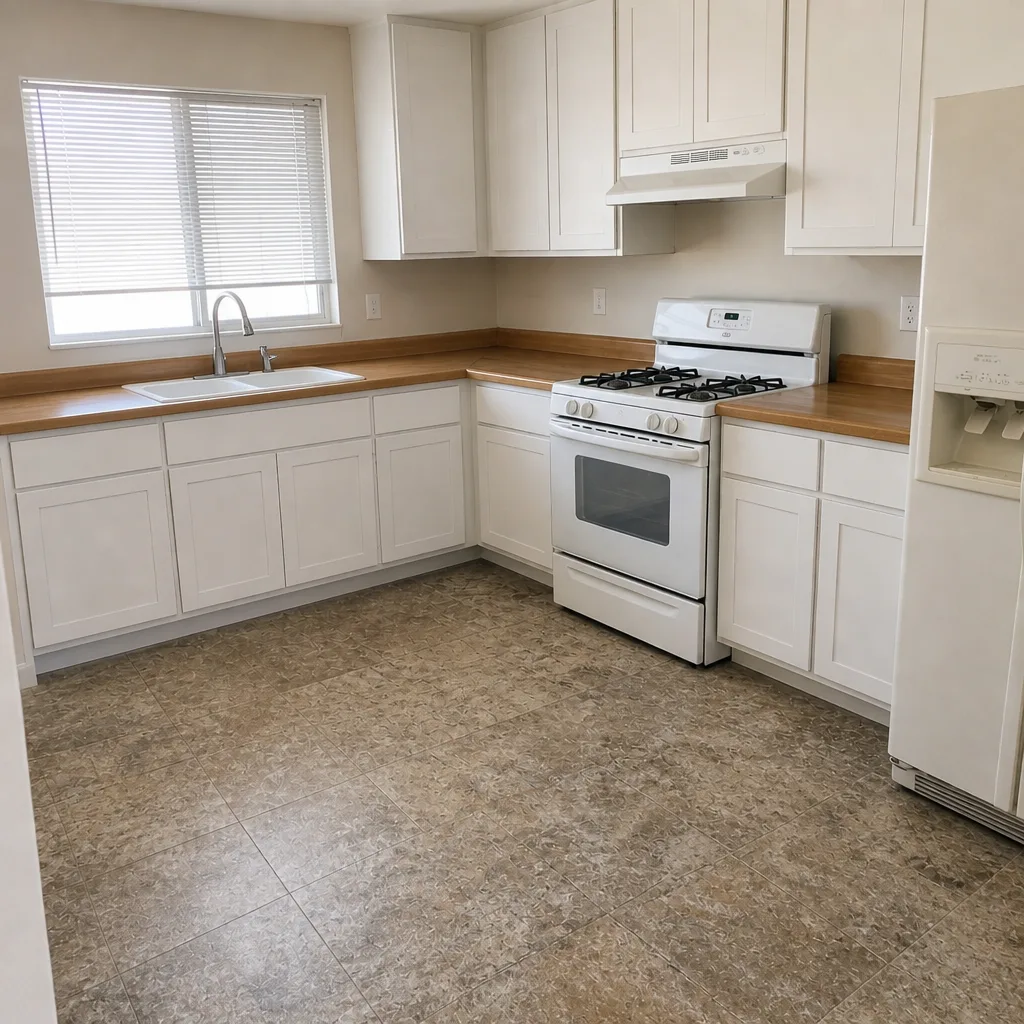
See the difference
 Before
 After
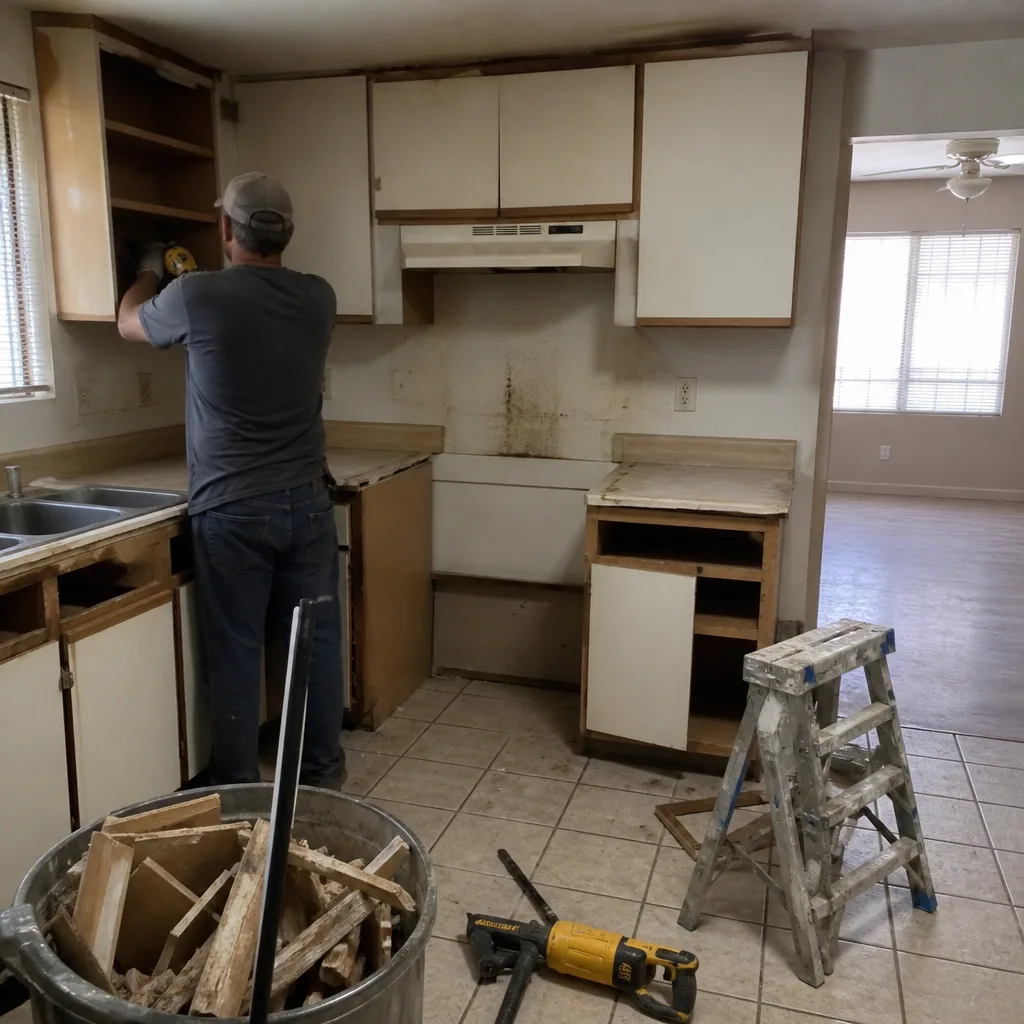 Before
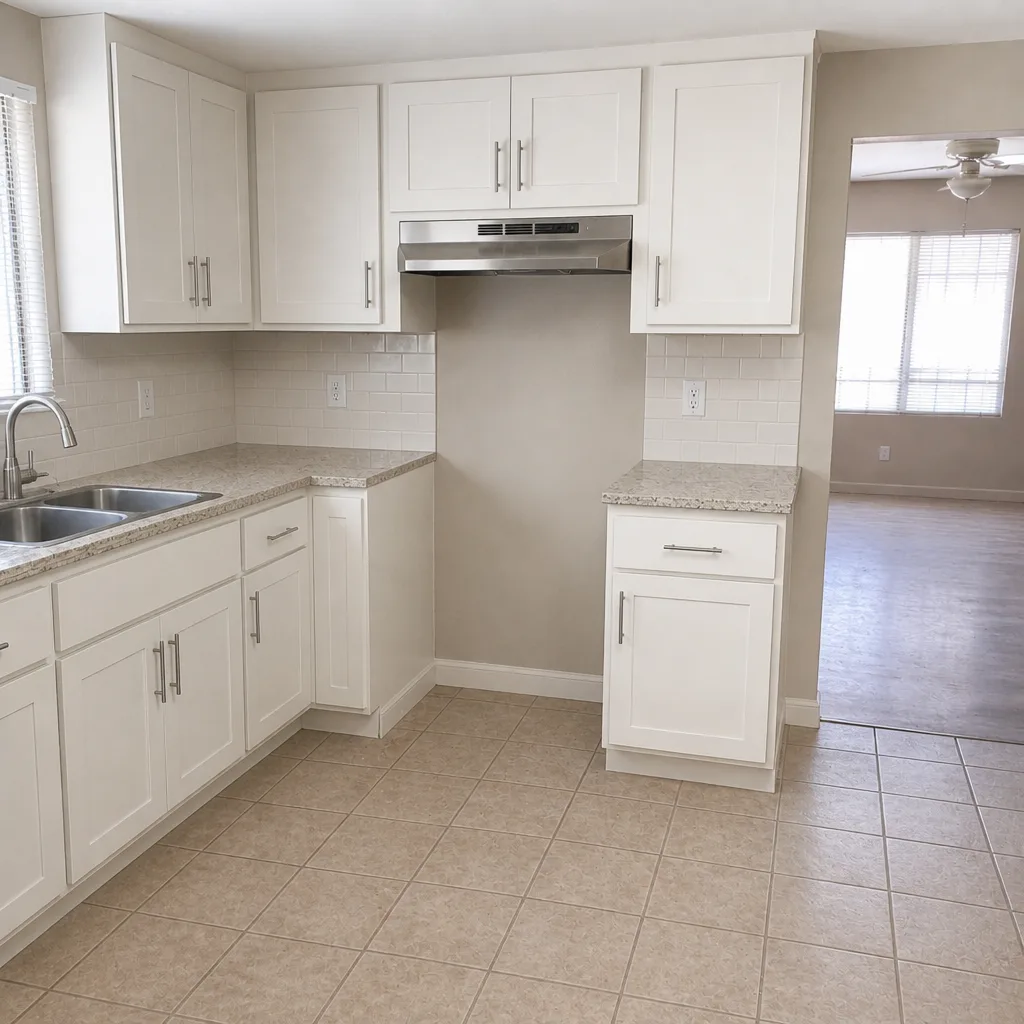 After
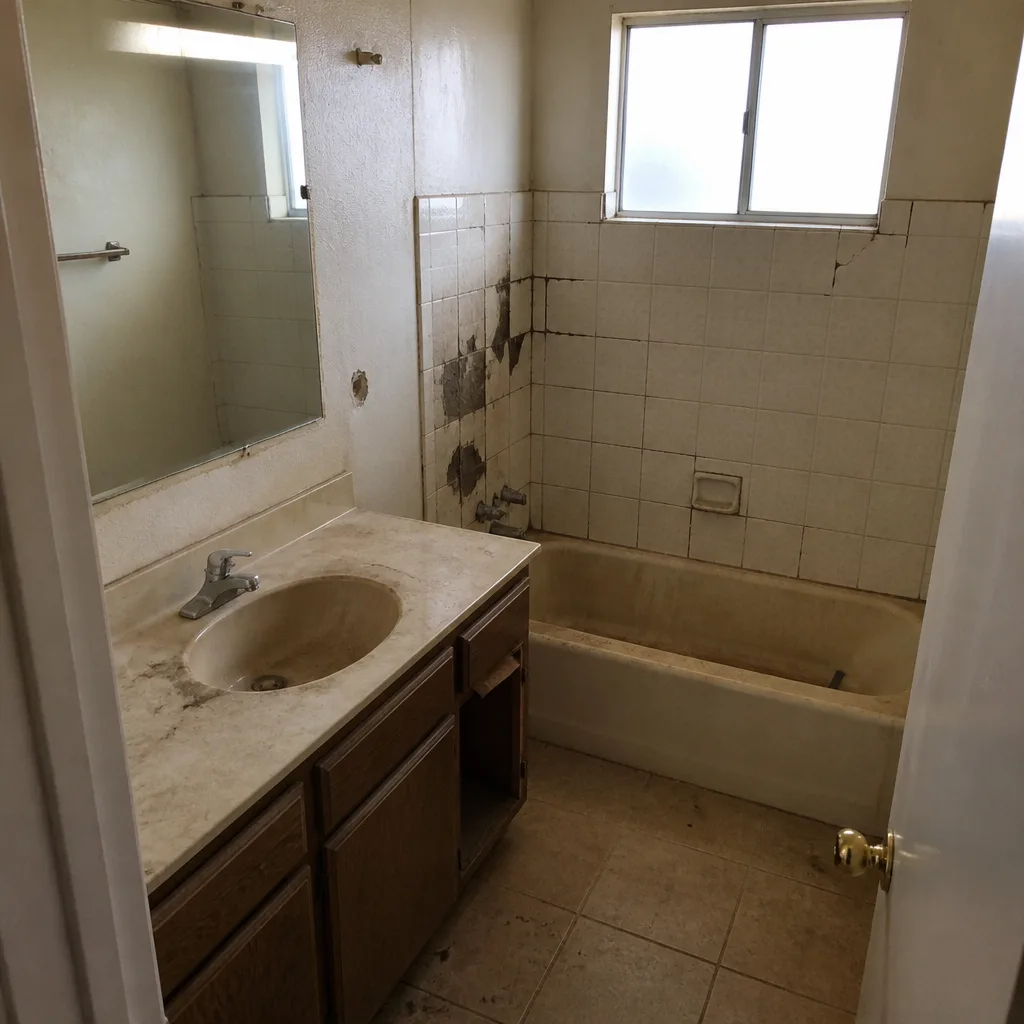 Before
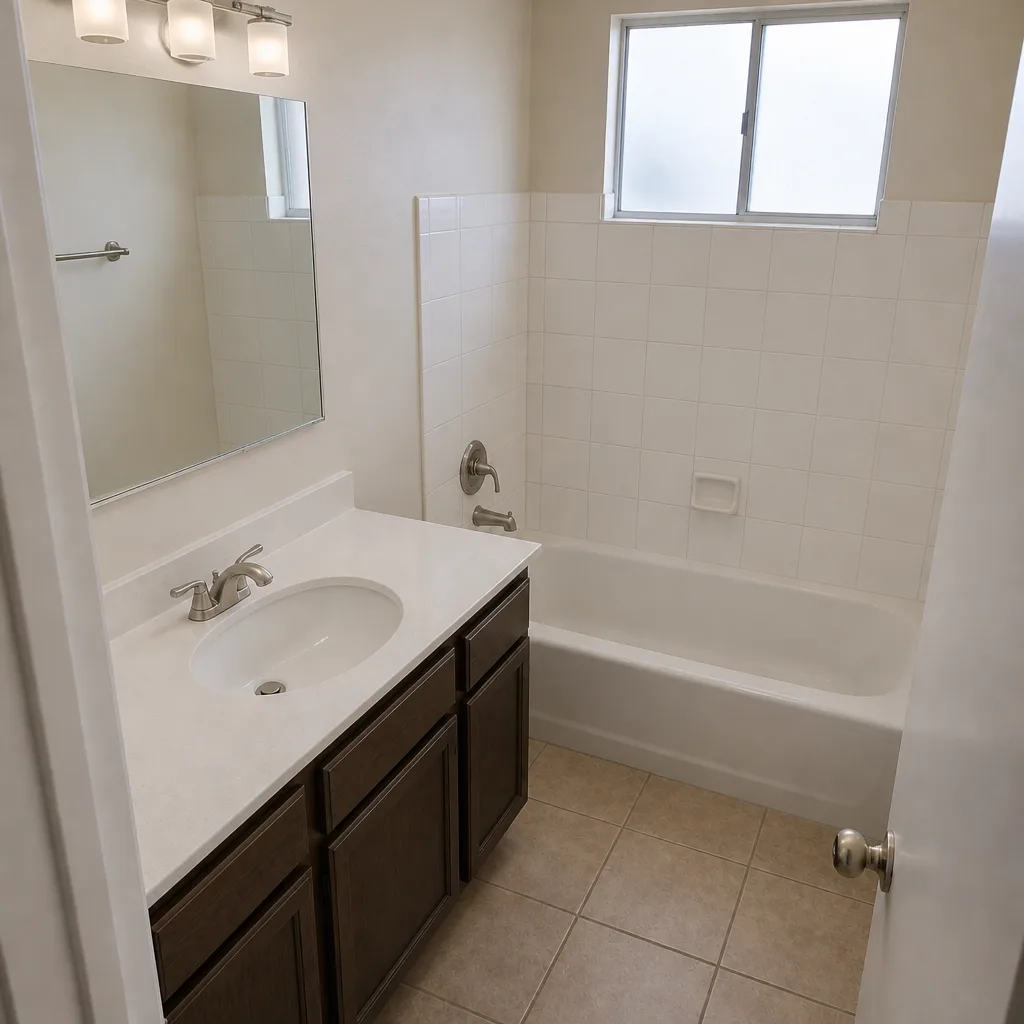 After
When to Call a Professional
Some of this you can absolutely do yourself. Some of it you shouldn’t try. The line for us is simple: if the fix could hurt you or cause a fire, or if a measurement is changing, get a pro in.
Call a licensed electrician for anything inside the panel. Call a structural engineer if a crack gauge has moved 1/16 inch or more in six months, or if a door or window in the addition has started sticking year-round and getting worse. Call a roofing professional if you see staining on the underside of the roof transition, lifted flashing, or shingle loss. Call on the HVAC side for any mini-split refrigerant issue or a compressor that won’t start. Outside of those, the annual caulk-and-inspect walkthrough is well within reach for most homeowners.
If you’d rather not climb the ladder, our team runs the same annual inspection on additions and ADUs across the valley. Barrett & Sons Construction Las Vegas offers free estimates in Las Vegas, and we’ve been doing this work since 1998. Call (866) 814-4155 for a free estimate.
Frequently Asked Questions
Once a year, ideally in early spring, plus a quick post-monsoon walkthrough in September. That’s more frequent than national maintenance schedules suggest, and it’s because of the UV and heat load. The tie-in seam and roof transition need annual attention here, not the 3-5 year cycle other climates use.
Usually yes. The exterior checks catch failing caulk and lifted flashing before water reaches the interior drywall. That’s the whole point of doing the walkthrough in April instead of waiting for the season’s first storm. Catching it outside is a $200-$600 repair. Catching it inside is drywall, insulation, and possibly framing.
Whatever your lease says, so put it in writing. Our standard split is tenant cleans the filters monthly and reports leaks, owner pays for the annual professional service. Most manufacturer warranties require documented annual maintenance, and tenants rarely do it unprompted. Call (866) 814-4155 if you want a second opinion on your lease structure or the equipment warranty terms.
Measure it. Install a crack gauge at the seam and check it every six months. Movement of 1/16 inch or more in that window, or a crack that has lengthened by more than a quarter inch, is worth a structural engineer’s visit. Below that, monitor and photograph.
Yes, in almost every case, and definitely in anything you’d rent out. Las Vegas and Clark County both require permits for ADU construction and for the electrical, plumbing, and mechanical work that comes with it. If a contractor tells you the permit is optional, find a different contractor. We pull every eligible permit and get every inspection signed.
You can do the visual walkthrough and the caulk check yourself. That’s the core of the schedule and it costs nothing. Hire out the electrical panel inspection, the mini-split service, the roof inspection (if you’re not comfortable on a ladder), and any structural question. The blend of DIY and professional checks is what keeps your addition healthy and your warranty intact.
The Bottom Line
Your addition or ADU shares most of your home’s maintenance schedule, but the tie-in seam, the shared utilities, and the exterior envelope transition each need a check once a year. In Las Vegas, treat 3-5 year national timelines as 12-18 months, and photograph the seam every spring so you can see slow movement before it becomes expensive. Measure foundation cracks with a gauge. Divide the mini-split maintenance between tenant and owner in writing. Keep the permit file and the appliance records current. Do those four things and you’ll get decades out of the addition without the surprise repair bill nobody wants.
Written by the team at Barrett & Sons Construction Las Vegas.