
Last updated November 17, 2026
 Driveway & pavers
 Kitchen remodeling
 Bathroom remodeling
 Home additions & ADU
 Roofing
 Windows & doors
 Fence
Free written scope consultation - allowances, timeline, and change-order rules on paper before a single trade is scheduled
Driveway & Pavers Maintenance Schedule: What to Do and When
Most homeowners reseal their pavers on a three-year cycle because that is what the bag says. In Las Vegas UV conditions, waiting three years between sealers is roughly like skipping sunscreen for a full summer. By the time you notice the damage, it is already done. We have pulled pavers out of west-facing driveways in Summerlin that were sealed on a national calendar and found the joints chalked to dust from nothing more than sun. This guide lays out the maintenance schedule that actually fits Las Vegas – built around two heat cycles, two monsoon windows, and a dust season that punishes joints harder than anything else.
Quick Answer
Driveway pavers in Las Vegas need inspection twice a year: once in late spring before ground temperatures spike, and once in early fall after monsoon season ends. Between those inspections, refill joint sand as it settles, test the sealer annually with a water-bead check, and verify edge restraint every year. Sealer typically needs reapplying every 18 to 24 months here, not every three years, because UV exposure runs far hotter than in most of the country.
Styles & brands we work with
- Kitchen remodeling
- Bathroom remodeling
- Home additions & ADU
- Roofing
- Windows & doors
- Driveway & pavers
- Fence
Table of Contents
- Why a Generic Paver Calendar Fails in Las Vegas
- The Pre-Summer Inspection: Late April Through May
- Joint Sand: The Only Part of Your Driveway That Fails First
- Sealer Testing and Reapplication in Desert Conditions
- The Post-Monsoon Cleaning Protocol: July Through September
- When Dust Fills the Joints: What to Do and What Not To
- Edge Restraint: The Task Everyone Skips
- The Full Year-Round Schedule at a Glance
Why a Generic Paver Calendar Fails in Las Vegas
A driveway paver maintenance schedule in Las Vegas is not built on four equal seasons. It is built around specific local conditions. Ground temperatures on an exposed west-facing driveway in the northwest valley can push past 140 degrees by mid-June, and polymeric sand that has dried to a brittle crust will crack from thermal cycling long before it washes out.
Then comes monsoon season. Between July and early September, the Las Vegas valley gets the bulk of its summer rain in short, violent bursts. That rain does two things to a paver driveway. It pushes water hard against the joints, and it carries fine alkaline silt from the surrounding desert across the surface into those same joints. When it dries, that silt hardens into a cement-like crust that wedges the pavers apart.
Then comes the haboob dust. The dust storms that blow through the valley in late summer and early fall carry particles fine enough to settle into every joint on the driveway. Left alone, those particles work their way down and act like sandpaper against the joint material.
So in our experience, a Las Vegas paver driveway has three maintenance drivers instead of one: heat and UV degradation, monsoon silt and water, and dust loading. A schedule that ignores any of these is going to fail early. We have helped homeowners in Centennial Hills and in Green Valley repair joints that a non-local company installed and walked away from – the biggest cause was simply that nobody told them a desert driveway operates on a different clock.
The Pre-Summer Inspection: Late April Through May
This is the most important inspection of the year. Late April through May gives you a window when the ground is warming but not yet punishing, and before the summer heat sets sealer and joint sand into a state that is hard to correct. Get on your knees once a year and actually feel the joints.
Use this checklist before ground temperatures push past 100 degrees:
- Walk every edge and corner of the driveway. Look for any paver that flexes or rocks under foot. A rocking paver is the earliest warning sign of a failing base or washed-out bedding.
- Check joint sand depth with a key or screwdriver. Joint sand should sit flush with the paver surface. If any joint has sunk a quarter inch or more, it needs refilling before summer.
- Look at the sealer surface in direct sun. If it looks chalky or dull, note it for the annual sealer test below.
- Verify edge restraint. This is the hidden element that keeps your driveway from spreading. We cover this in its own section below.
- Check the transition to the street or the garage. These points take the most water and usually show the first signs of movement.
In our experience, most homeowners skip the kneeling step and go straight to the pressure washer. Do the inspection before the cleaning. You cannot see a sinking joint through a layer of over-sprayed dust, and once you wet the driveway down, some problems look repaired when they are not.
If your driveway is part of a larger home improvement project you are planning, our team handles Driveway & Pavers in Las Vegas and can inspect and repair in one visit. If the surrounding property needs attention at the same time, we also install Fence Installation in Las Vegas and can note any issues at the property line that might be contributing to water running onto your pavers.
Joint Sand: The Only Part of Your Driveway That Fails First
Joint sand is not decorative filler. It is a structural component. The sand locks each paver against the next and keeps water from running down into the bedding layer. When joint sand is compromised, water gets under the pavers and the base starts to fail. That is how a $500 refill turns into a $6,000 repair.
Polymeric sand – the type most driveways in Las Vegas use – bonds together when wet and then cures. In cooler, wetter climates it lasts five or six years before needing refilling. Here, the combination of high UV and the alkalinity of the dust creates a different timeline. In our experience, most Las Vegas driveways on full sun exposure need joint sand refilling every two to three years.
Warning signs that joint sand needs replacing now:
- Visible gaps deeper than a quarter inch in the joints.
- Sand brushing away under a broom when the driveway is dry.
- A crunchy sound underfoot when you walk – that is broken polymeric sand grinding between pavers.
- Weeds sprouting from joints – damp sand underneath is the usual cause.
- Ant mounds at the paver edges – insects follow moisture.
Polymeric sand has to be applied when the pavers are completely dry and there is no rain forecast for 24 hours. In the spring window, you have to wait out the rare May rain. In summer, do not apply it in direct afternoon sun – the surface will cure the sand too fast and crack it. Morning application is better.
We typically schedule joint sand work in May and again in late September after monsoon season closes. That timing avoids the heat spike and follows the water intrusion window.
Sealer Testing and Reapplication in Desert Conditions
Sealer is a sacrificial layer. It takes the UV beating so the pavers underneath do not. When the sealer fails, the pavers fade and the joint sand starts to erode. The problem is that you cannot tell when sealer is failing just by looking at it. Some sealers look intact right up until the day the joint sand gives out.
The test that works is simple: pour a half-cup of water onto a representative section of the driveway on a dry, warm morning and watch what happens. If the water beads up and sits on the surface for more than a few seconds, the sealer is still doing its job. If the water soaks in immediately and darkens the paver, the sealer has failed and the surface needs to be resealed before the next heat cycle.
In Las Vegas UV conditions, most solvent-based or acrylic sealers need reapplying every 18 to 24 months on an exposed driveway. West-facing driveways can be on the shorter end of that. A driveway that sees shade through a good part of the afternoon can stretch to two and a half years.
When you reapply, the product category matters more than the brand name. In desert conditions, we recommend a solvent-based acrylic sealer with UV inhibitors, or a high-solids polyurethane for maximum durability. Water-based products work but typically last a shorter cycle here. Apply with a low-pressure sprayer and a roller in two thin coats – do not flood the surface. A heavy first coat will trap moisture and cause the same chalking you were trying to prevent.
Do not seal a new driveway or a newly repaired one until the pavers have had a full cure cycle – usually 30 to 60 days for a new installation and 24 to 48 hours after any joint repair.
The Post-Monsoon Cleaning Protocol: July Through September
Monsoon season typically runs from mid-June through the end of September in the Las Vegas valley. When the season closes, the driveway needs a specific cleaning protocol that is different from the spring cleaning. This one is about removing the fine alkaline silt before it hardens.
- Wait two or three days after the last significant rain. The joints need to be surface-dry before you clean, but not baked – do not clean in the middle of a heat wave.
- Skip the pressure washer on the joints. This is the most common mistake. High pressure drives dirt and silt deeper and washes out the joint sand. A garden hose with a broad spray is actually gentler and more effective.
- Use a pH-neutral paver cleaner diluted per the label. Do not use muriatic acid or any acidic cleaner on polymeric sand – it eats the binder. In Las Vegas the silt is alkaline, so acidic cleaners make the problem worse, not better.
- across the joints, not in the direction of the joints. Scrubbing along a joint line pushes the silt down. Scrubbing across lifts it up.
- Rinse with low pressure at a 45-degree angle and let it drain.
- Refill joint sand after everything is dry – this is the single most important step.
In our experience, the post-monsoon refill saves homeowners more money than any other maintenance task. A joint sand refill after the monsoon season runs a fraction of what a paver reset or base repair costs, and most of the failures we see on Las Vegas driveways trace back to this step being skipped. If the driveway shares an edge with the house or a structure, check first that flashings and gutters are intact; that work belongs with Home Additions & ADU in Las Vegas if it is part of an overall property review.
When Dust Fills the Joints: What to Do and What Not To
Haboob dust is fine enough to settle into every joint on the driveway. Left alone, those particles work their way down and act like sandpaper against the joint material, slowly widening the joints and eroding the polymeric binder.
The cleanup for this has one main rule: do not blow dust across the joints. A leaf blower on high setting pushes dust particles directly into the joint line and packs them. The method that works is to blow perpendicular to the joints and at a reduced setting, then follow with a gentle sweep and a light rinse before any joint sand refill.
Do not skip this step after a dust event and just add new joint sand on top of the dust. The new sand will not bond correctly and will fail within a season. Dust needs to come out first, then new sand goes in.
If the driveway is adjacent to a fence that has also collected dust and silt at its base, check for any fence movement at the same time. Wind events that bring haboob dust are hard on fence posts too. That inspection falls under Fence Installation in Las Vegas, and we often look at both together for homeowners in the valley.
Edge Restraint: The Task Everyone Skips
Edge restraint is the hidden strip – usually a row of concrete curbing, plastic edging, or metal restraint – that sits at the perimeter of the driveway and holds the pavers in place. Without it, the pavers spread over time. In Las Vegas, the spreading happens faster because the heat causes movement in the base and the bedding layer.
The edge restraint inspection is a five-minute task that most homeowners never do. Walk the entire perimeter of the driveway once a year and press down on the edge paver with your foot. If it moves, the restraint is failing.
Signs of failing edge restraint:
- The edge pavers sit slightly higher than the interior pavers – the driveway is “heaving” at the edge.
- Visible gaps between the edge pavers and the restraint strip.
- Pavers that have shifted out past the restraint by more than a quarter inch.
- Exposed soil or weeds between the pavement edge and the curb.
Edge restraint failures cost more to fix the longer they are left alone. A failed edge restraint typically means the bedding layer at the perimeter has washed out, and pavers have to be lifted, the base re-graded, and the restraint reinstalled. That is a much bigger job than replacing an edge strip that failed last year but was caught in time.
We check edge restraint on every driveway we inspect. It is the single task that, when skipped, produces the most expensive repair we see on Las Vegas driveways.
The Full Year-Round Schedule at a Glance
Here is the schedule compressed into one reference list. Print it, put it on the fridge, and work from it through the year.
- March: Inspect driveway for any winter movement. Refill joint sand if any joints are below flush.
- April through May: Full pre-summer inspection. Test sealer with the water-bead method. Note edge restraint condition. Schedule any joint sand refill.
- May through June: Reapply sealer if the water-bead test failed. Complete any joint sand refill before ground temperatures spike.
- July through September: Monitor after each monsoon event. Keep drains and transitions clear. Do not pressure-wash joints.
- Late September through October: Post-monsoon cleaning and joint sand refill. Edge restraint check. Note any paver movement.
- November: Final sealer inspection. Schedule a reseal before the cold months if needed.
- December through February: Light monitoring. In Las Vegas, these are the months that let you catch small issues before the next heat cycle. Address anything found in the fall inspection.
If part of your property maintenance plan includes exterior construction work, our other services and guides at Barrett & Sons Construction Las Vegas home are a good starting point for coordinating the driveway work with the rest of the job.
Common Mistakes to Avoid
- Pressure-washing the joints. A pressure washer on a wide fan tip is fine for the flat pavers. Aimed at the joints, it blows out the polymeric sand and drives silt deeper. We see this on almost every driveway in Las Vegas that has failing joints, and the homeowner usually does not realize the pressure washer was the cause.
- Sealing over dirt. A coat of sealer over a dusty driveway traps the dust under the film. That is how you get cloudy sealer that has to be chemically stripped before it can be resealed properly.
- Spreading joint sand on top of existing silt. The new sand will not bond to anything except the dust. It fails within one season. Get the substrate clean first.
- Skipping the edge restraint check. It is the five-minute task that prevents the four-figure repair.
- Waiting for visible damage before resealing. By the time the sealer has visibly failed, the joint sand and the paver color have already taken the damage. Test proactively with the water-bead method instead.
- Using acidic cleaners on polymeric sand. Muriatic acid or acidic cleaners destroy the polymeric binder. Any cleaner labeled for concrete is not safe for polymeric joints.
- Buying sand that is not labeled for pavers. Play sand and masonry sand are not formulated for polymeric joint use. They do not bind, and they do not last.
See the difference
 Before
 After
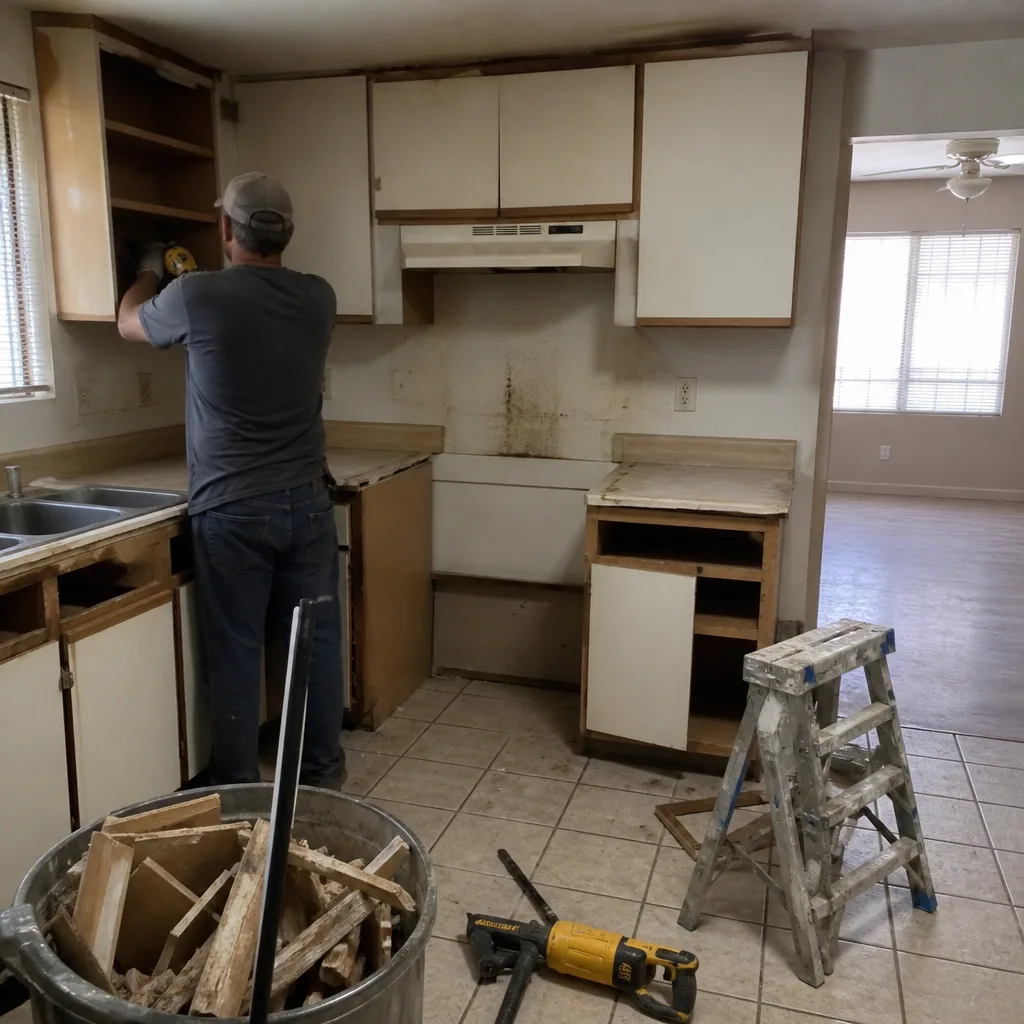 Before
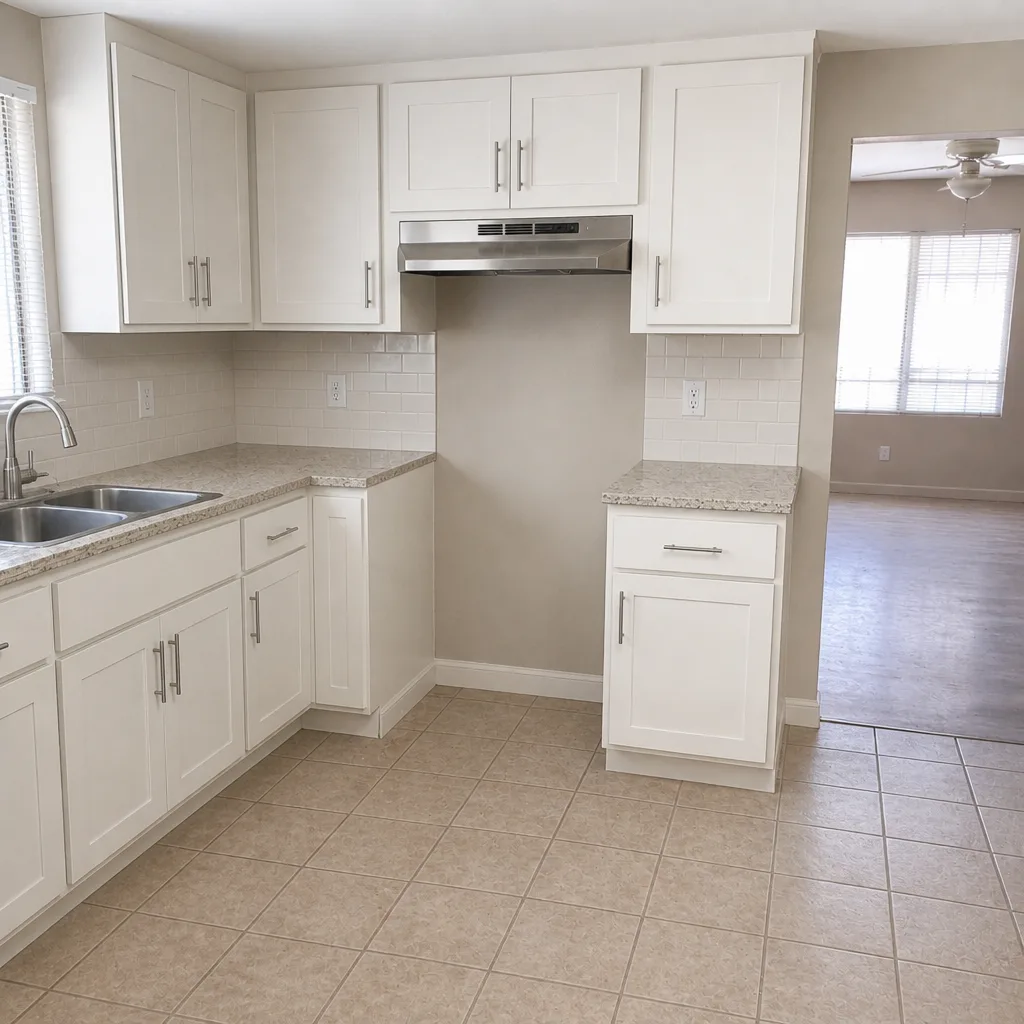 After
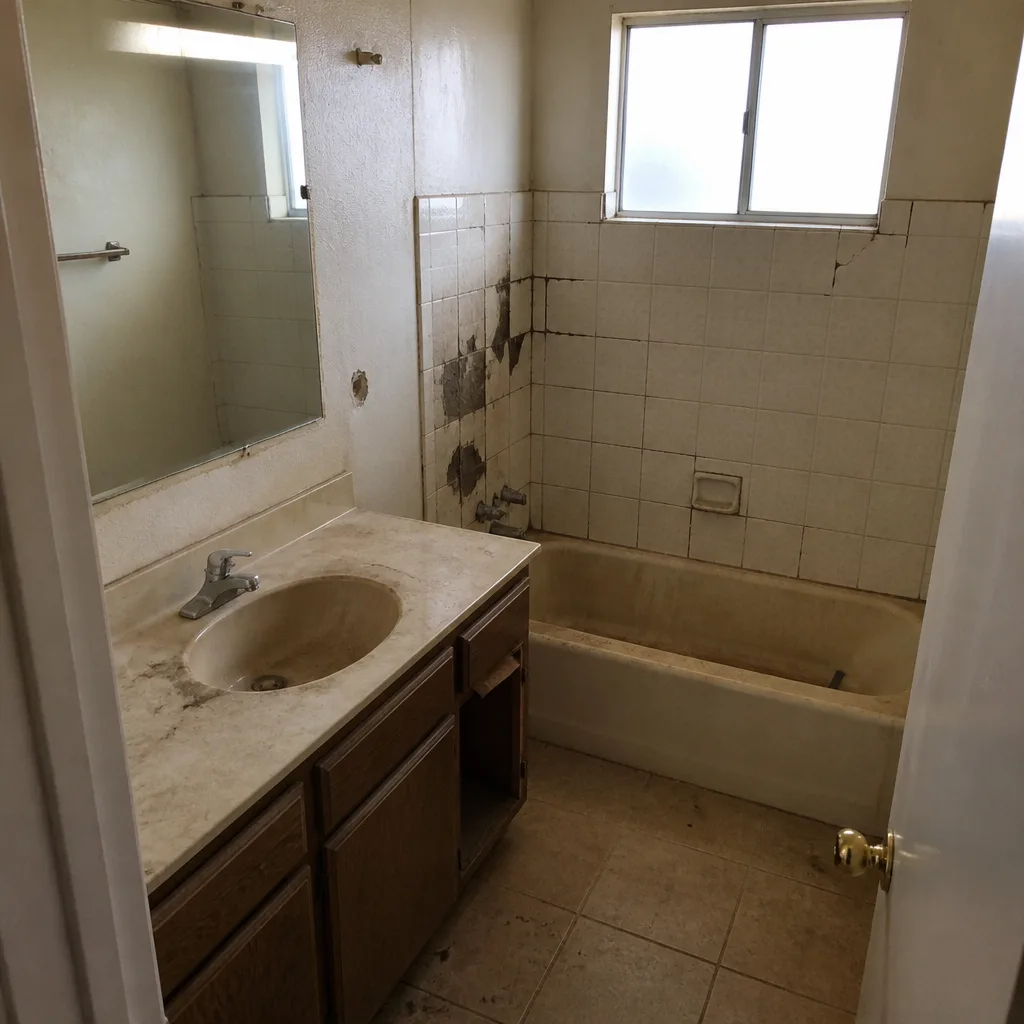 Before
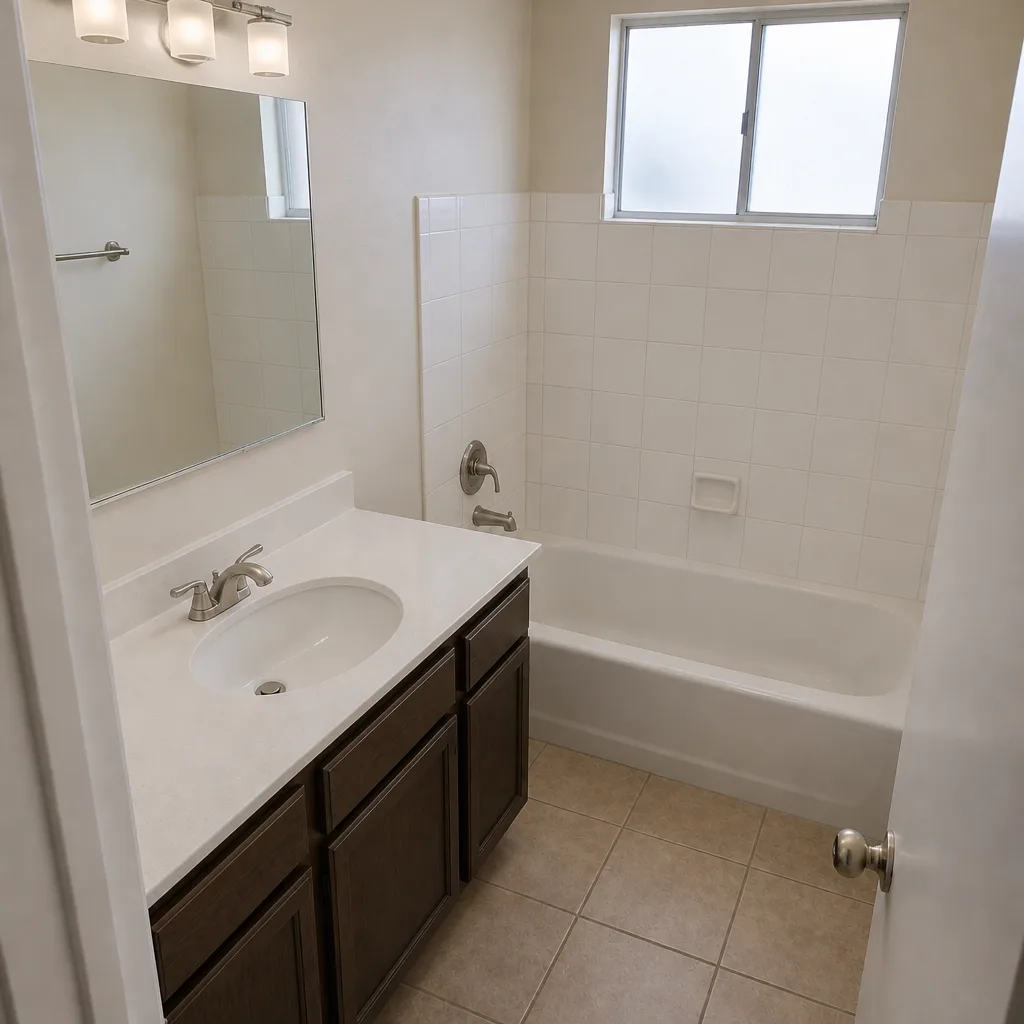 After
When to Call a Professional
Some maintenance you handle yourself. Refilling joints and testing sealer are within reach for most homeowners. But three scenarios need a professional evaluation, and we recommend not waiting. The first is any paver that rocks or flexes under foot – that means the base has failed and needs to be dug out and rebuilt. The second is edge restraint that has visibly shifted or separated; reinstalling restraint is a base-work job, not a surface-level repair. The third is a sealer that needs chemical stripping before resealing, which involves solvent handling and proper disposal that most homeowners do not have the setup to do safely.
If you are in Las Vegas and unsure which category you are in, Barrett & Sons Construction Las Vegas offers free estimates in Las Vegas on driveway and paver work – call (866) 814-4155. Every price change on a job is issued as a written change order before work proceeds, and every eligible job includes permits pulled and inspections signed.
Frequently Asked Questions
Most driveways in Las Vegas need resealing every 18 to 24 months, not every three years. UV exposure on full-sun surfaces in the valley is significantly higher than in most of the country. The water-bead test is the best way to know exactly when your driveway needs it.
The best windows are April through May and late September through October. Those windows avoid the peak heat that cures the sealer too fast and the monsoon season that can wash sealer off before it cures. Do not apply sealer in direct afternoon sun or when rain is forecast within 24 hours.
Blow dust perpendicular to the joints at reduced blower power, sweep gently, rinse lightly, and do not add joint sand until the dust is fully cleared. Do not use a full-power leaf blower aimed along the joint lines – that drives dust deeper. Once the joints are clear and dry, refill with fresh polymeric sand.
Pour a half-cup of water onto a representative section of dry driveway on a warm morning. Water that beads and sits for a few seconds means the sealer is still good. Water that soaks in immediately and darkens the paver means it has failed and needs to be resealed before the next heat cycle. This test takes under two minutes and is much more reliable than looking at the surface.
Most residential driveway joint sand refills in Las Vegas fall in the $300 to $600 range for a standard two-car driveway, depending on square footage and how much prep is needed. A full paver reset or base repair runs significantly more than a refill. Getting a free written estimate is the only way to know the exact figure for your driveway.
Cosmetic repairs like joint sand refills or resealing typically do not require a permit. Base repair, restructuring, or significant edge restraint work may require evaluation depending on scope. At Barrett & Sons Construction Las Vegas, we pull permits and sign inspections on every eligible job. Ask us at the estimate stage so there is no surprise later.
Getting an exact figure for your driveway is free. Call (866) 814-4155 for a free estimate, and we will tell you honestly whether the schedule calls for a refill, a reseal, or something deeper.
The Bottom Line
A Las Vegas driveway paver schedule runs on the desert’s clock, not a national three-year calendar. Inspect twice a year – late spring before heat, early fall after monsoon. Refill joint sand every two to three years, verify edge restraint every year, and reseal every 18 to 24 months based on the water-bead test. Skip the pressure washer on the joints, use gentle cleaners on polymeric sand, and do not seal over dirt. The homeowners who follow this schedule spend a few hundred dollars a year on maintenance and avoid the thousands-of-dollars repairs we see on driveways that got a national calendar instead of a local one. That is the whole point: a little upkeep done at the right times in the right order.
If you are not sure where your driveway stands in the schedule, we offer free estimates in Las Vegas. Call (866) 814-4155 and we will give you a written scope, a written price, and a plan for the next 12 months. You can also read more about our work on our Driveway & Pavers in Las Vegas page.
Written by the team at Barrett & Sons Construction Las Vegas.