
Last updated November 17, 2026
 Driveway & pavers
 Kitchen remodeling
 Bathroom remodeling
 Home additions & ADU
 Roofing
 Windows & doors
 Fence
Free written scope consultation - allowances, timeline, and change-order rules on paper before a single trade is scheduled
Driveway & Pavers Maintenance Checklist for Las Vegas Homeowners
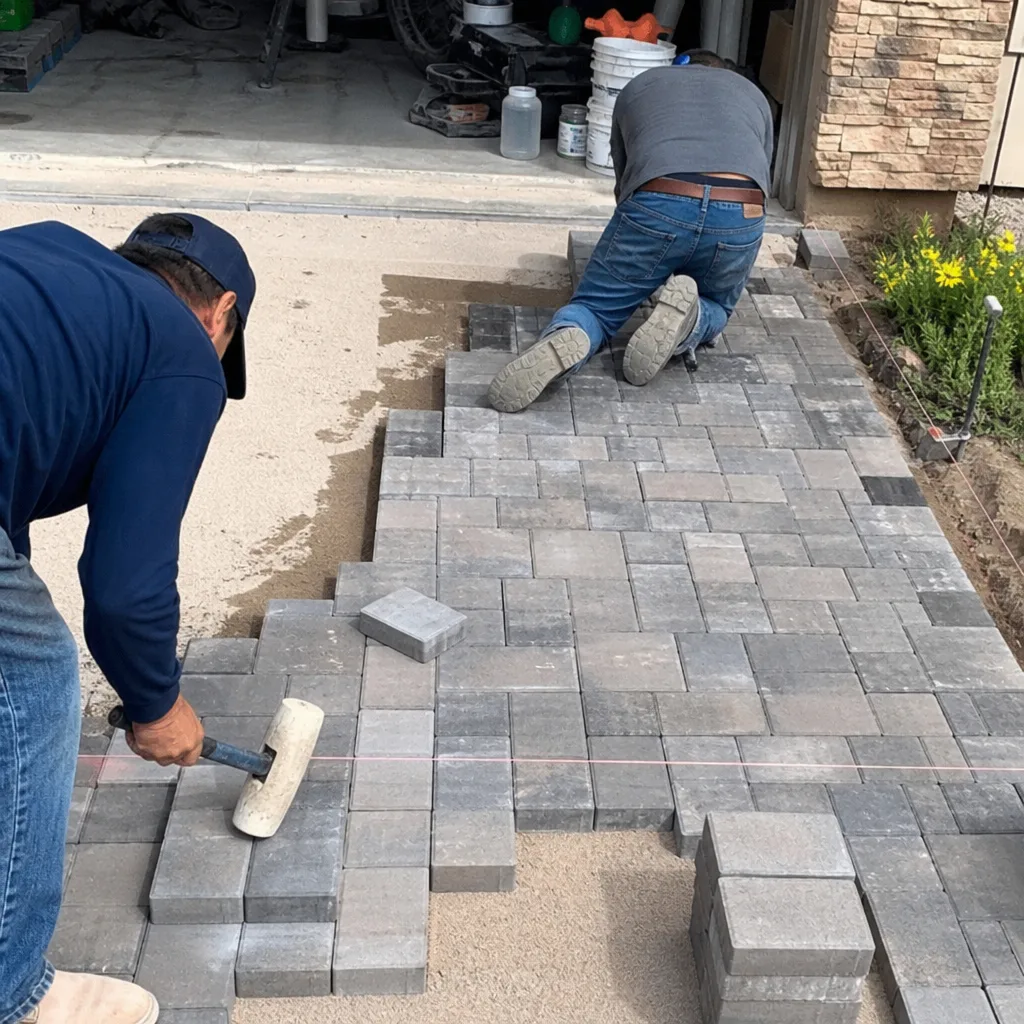
Polymeric sand, the material that locks pavers together, has a lifespan measured in years, not decades. In Las Vegas, intense UV and alkaline irrigation water can break it down in as little as three to four years if the wrong product went in at install. Once that joint sand fails, pavers start rocking, and once they rock, edges chip. This checklist walks through what actually happens to a Las Vegas driveway across twelve months: the pre-summer sealing window, the monsoon inspections, the post-winter alkali bloom, and how to tell caliche heave from settling from a lifted paver pushed up by tree roots. Most of what you’ll read here was learned on driveways in this valley, not borrowed from a Phoenix blog.
Quick Answer
Maintain a Las Vegas paver driveway by sealing it in spring before the UV peak (March to early May), inspecting joints and edges after every monsoon storm from July through September, checking for alkali bloom and efflorescence after winter irrigation cycles, and testing polymeric sand firmness each spring with a screwdriver. Plan on a full reseal every three to five years, joint sand top-off every two to three, and a professional inspection any time pavers move more than about 1/8 inch.
Styles & brands we work with
- Kitchen remodeling
- Bathroom remodeling
- Home additions & ADU
- Roofing
- Windows & doors
- Driveway & pavers
- Fence
Table of Contents
- Why Las Vegas Is Harder on Driveways Than Anywhere Nearby
- The Month-by-Month Las Vegas Paver Checklist
- How to Test Whether Your Polymeric Sand Is Failing
- Caliche Heave vs. Settling vs. Tree Root Lift
- What Las Vegas Water Does to Pavers and Concrete
- Sealing: Window, Product, and What to Skip
- What a Real Paver Warranty Should Say in Writing
- What You Can Do Yourself and What You Can’t
Why Las Vegas Is Harder on Driveways Than Anywhere Nearby
Three things make a Las Vegas driveway age differently from one in Southern California or Phoenix. First, UV. The valley regularly runs a UV index of 10 to 11 from May through August. That’s higher than coastal California by a wide margin, and it cooks the binders in sealers and joint sand faster than most product data sheets assume.
Second, soil chemistry. Much of the valley sits on caliche, a calcium-carbonate hardpan that expands and contracts with moisture and pushes upward when irrigation soaks it. Alkali content in the soil also attacks polymeric sand from below, especially when the joint sand was mixed with hard local water. It’s not visible damage at first. The sand just goes chalky and stops locking.
Third, water. Las Vegas water is among the hardest in the country, and irrigation overspray leaves mineral deposits on paver faces that etch unsealed concrete pavers permanently within a single season. Add a monsoon season that can drop an inch of rain in twenty minutes on a driveway graded before that storm, and you have pavers that were level one week and displaced the next.
We’ve seen all of this up close on driveways from Summerlin to Anthem, and it changes the maintenance calendar. A checklist written for a milder climate will have you sealing in the wrong month and inspecting the wrong joints.
The Month-by-Month Las Vegas Paver Checklist
This calendar is built around actual Las Vegas seasonal events. Print it, stick it on the garage fridge, and check the boxes as you go.
- January: Walk the driveway with a screwdriver and probe every joint for soft or loose sand. Note any paver that moves underfoot. Cold nights can loosen joints that swelled in summer.
- February: Check for white powdery bloom along edges and in low spots. This is alkali coming up with moisture, not mold. Note it for spring cleaning.
- March: Pressure-wash gently (no more than 1,500 psi, wide fan tip) to remove winter dust and mineral film. Let it dry 48 to 72 hours before any sealing decision.
- April: Best sealing window in Las Vegas. Surface temps are stable, UV is rising but not at peak, and rain is rare enough to guarantee a clean cure. Seal now if your driveway is due.
- May: Top off joint sand before the heat sets in. Inspect edges where the driveway meets garage slab and street apron for gaps.
- June: Look for “tenting,” pavers that lift slightly in the middle of a run. This is often a caliche signature, not a sand problem.
- July: Monsoon begins. After every storm, walk the edges and low spots. Look for sand washout, displaced pavers, and new ponding marks.
- August: Peak storm month. Photograph any paver movement right away; it’s easy to forget the exact spot by fall.
- September: Second monsoon peak. Repeat the edge inspection. If sand washed out more than twice, the joint profile is failing.
- October: Post-monsoon deep check. Probe joints again. Compare to your January notes.
- November: Clean up summer dust and mineral film. Clear leaf drop and debris from the street apron drain line.
- December: Check for efflorescence after early irrigation cycles. Note where bloom returns every year; that’s a drainage pattern, not a cleaning problem.
The pre-summer sealing window matters most. Seal in April or skip the year. Sealing in July or August traps heat under the sealer and can leave a cloudy film that won’t come off without stripping.
How to Test Whether Your Polymeric Sand Is Failing
Polymeric sand failure is progressive. You can catch it two seasons before you lose pavers, and the test takes about two minutes.
The screwdriver test. Take a standard flathead screwdriver and press it into a joint between two pavers with moderate hand pressure. Good polymeric sand resists like hard rubber and barely dents. Failing sand crumbles, powders, or gives way in chunks. Test five or six random joints, not just the ones that look bad.
The water test. Pour a cup of water slowly over a joint. Properly cured polymeric sand sheds water and beads slightly. Failing sand drinks it in immediately and turns to mush.
The broom test. Sweep a hard plastic broom across a section. If sand kicks up like loose dirt, the binder is gone.
If two of those three tests fail, you’re in the reseal window before paver displacement starts. In our experience, most Las Vegas driveways hit that point at year four or five if the installer used a quality polymeric product, and year three if the sand was diluted with local hard water at install. Call for an inspection before the paver edges chip; chipped pavers get expensive fast.
Caliche Heave vs. Settling vs. Tree Root Lift
These three problems look identical from standing height. They’re completely different fixes, and getting the diagnosis wrong wastes money. Here’s how to tell them apart.
- Caliche heave usually shows up as a localized “tent” or bump in the middle of a run, often in spring or after heavy irrigation. The lifted area is small, maybe three to six pavers, and the joints around them are tight, not washed out. The fix requires breaking up the caliche layer beneath and re-compacting, which means pulling pavers, not just adding sand.
- Settling shows as a dip, most often near the garage apron or at the street edge where the base meets older concrete. Joint sand stays put; the whole section sinks. The fix is re-leveling and re-compacting the base, sometimes with a new base course.
- Tree root lift shows as a slow, gradual rise on one side of the driveway, usually a straight line pointing toward the nearest tree. It moves year over year. The fix is either root pruning (needs an arborist) or a flexible edge restraint that lets the pavers flex. Removing pavers without addressing the root just delays the problem one season.
When you look at a problem area, get down on the ground and look across the surface at a low angle. The shape of the deformation tells you which of the three you have. A tent with tight joints usually means caliche. A wide shallow dip usually means settling. A long ridge pointing at a tree is root lift nearly every time.
For larger corrections, including full driveway replacement or a new build alongside a Home Additions & ADU in Las Vegas, the base prep determines whether you’ll be back at this checklist in three years or ten.
What Las Vegas Water Does to Pavers and Concrete
Las Vegas water runs hard, often in the 250 to 300 mg/L range for calcium carbonate. That’s the scale that leaves white crust on your shower glass and the same chemistry that attacks your driveway. Three specific effects matter.
Etching on unsealed concrete pavers. Mineral-rich irrigation water sitting on unsealed concrete surfaces leaves deposits that bond to the surface. Over one season of daily overspray, you can get permanent dull patches that no broom or pressure washer removes. Sealing is the only real prevention.
Efflorescence in joints. Salts migrate up through the joint sand with moisture and crystallize on the surface. Left alone, the crystals expand and widen joints. That’s why efflorescence returns to the same spots every year; it follows the same moisture path every time.
Hard-water staining on sealers. Not all sealers resist mineral deposits equally. A penetrating sealer formulated for hard water markets performs differently from a film-forming acrylic. In our experience, a solvent-based penetrating sealer holds up best in Las Vegas, and we usually spec products from brands homeowners can look up rather than off-brand sealer from a box store.
The practical move is to reduce overspray. Adjust sprinkler heads so they don’t hit the driveway, or switch to drip in beds adjacent to the driveway. That single change adds years to any sealer.
Sealing: Window, Product, and What to Skip
Sealing is the highest-leverage maintenance step on a Las Vegas driveway, and it’s also the one most often done wrong.
The window. Late March through early May. Surface temperature above 60°F and rising, no rain forecast for 48 hours, and no irrigation in that window. Miss that window and wait until October.
The product. Use a penetrating sealer, not a film-forming acrylic, unless the manufacturer specifically rates the product for sustained UV index 10 plus. Penetrating sealers breathe; films trap moisture and peel in high heat. Two coats, sprayed or rolled, with the first coat curing 24 hours before the second.
What to skip. Skip “wet look” sealers on driveways unless you want the gloss to be a maintenance item itself. Wet-look film sealers scratch and cloud under tire traffic, and refinishing means stripping, which is expensive. Skip any sealer sold without a published technical data sheet.
Before you seal. Every joint must be full of good polymeric sand. Sealing over failing sand locks the failure in place. Fix joint sand first, then seal.
When you need a professional eye on whether your driveway is a reseal job or a rebuild, a free second opinion on any written estimate is worth taking. Call (866) 814-4155 for a Las Vegas estimate.
What a Real Paver Warranty Should Say in Writing
Ask for the warranty in writing before signing anything. A legitimate paver warranty covers specific, measurable things, and it names two exclusions that matter.
What it should cover:
- Workmanship on base compaction, leveling, and joint sand installation for a stated period, typically two to five years
- Settling that exceeds a stated tolerance (1/8 inch or 1/4 inch is common)
- Polymeric sand failure not caused by chemical exposure or physical damage
- Edges and restraints installed by the contractor pulling away from the base
The two exclusions bad actors bury:
- “Acts of God” language written so broadly that monsoon washout counts. In Las Vegas, monsoon rain is predictable, not an act of God. A driveway graded to drain properly should shed a two-inch storm without displacement. If the warranty excludes weather, it excludes half of what can actually go wrong here.
- “Normal settling” with no tolerance number attached. If the warranty doesn’t define normal, any movement is normal, which means nothing is covered.
Look up the contractor’s license number before you sign anything. It’s public. A contractor who publishes it and stands behind the warranty in writing is a different animal from one who wants to shake hands and move on.
We put our workmanship warranty in writing alongside a 90-Day Done Right Promise on every job: if something isn’t right, one call brings us back. That’s how a real warranty should read. If you’re pricing out pavers alongside a Fence Installation in Las Vegas or a new Driveway & Pavers in Las Vegas project, ask for the warranty language in the estimate itself.
What You Can Do Yourself and What You Can’t
Most of this checklist is homeowner work. Sealing, sand top-off, cleaning, and inspecting are all reasonable DIY projects with the right tools and a Saturday.
Safe to do yourself:
- Probe joints with a screwdriver each spring
- Pressure-wash at low pressure (under 1,500 psi, wide tip)
- Apply penetrating sealer in April or October
- Sweep dry polymeric sand into shallow joints and mist cure
- Photograph and document paver movement
- Adjust sprinkler heads to reduce overspray
Call a professional:
- Any paver that moves more than 1/8 inch underfoot
- Caliche heave that shows as a tent in the middle of the driveway
- Root lift that has moved year over year
- Full resealing when joint sand needs replacing under the sealer
- Any ponding issue that reroutes water toward the foundation
- Base failures at the apron or garage slab
The line is simple: if the problem is on the surface, you can handle it. If the problem is in the base, it’s a base fix, and a base fix means pulling pavers. Get a professional to look and give you a written scope before you start lifting.
Common Mistakes to Avoid
- Sealing in June or July. Las Vegas heat traps solvents under the sealer and leaves a milky film that’s expensive to strip. Seal in April or wait until October.
- Using sandbox sand to top off joints. Regular sand doesn’t lock. It washes out on the first monsoon and clogs the drain-first logic of the joint design. Use the correct polymeric product for your existing joint sand type.
- Pressure-washing at 3,000 psi. That strips the face off concrete pavers and destroys joint sand in one pass. Stay under 1,500 psi with a wide fan tip.
- Ignoring bloom as “just cosmetic.” Efflorescence is a signal that moisture is moving where it shouldn’t. Left alone, it widens joints and shortens the life of the polymeric sand.
- Putting down landscape fabric or gravel on top of moving pavers. This hides a base problem. It doesn’t fix one. You’ll pay double the base repair in two years.
- Accepting a warranty with no tolerance number. “Normal settling” without a definition means nothing is covered. Get the number in writing.
- Hiring the first bid without looking up a license. In Las Vegas this matters. The license number is public. Use it.
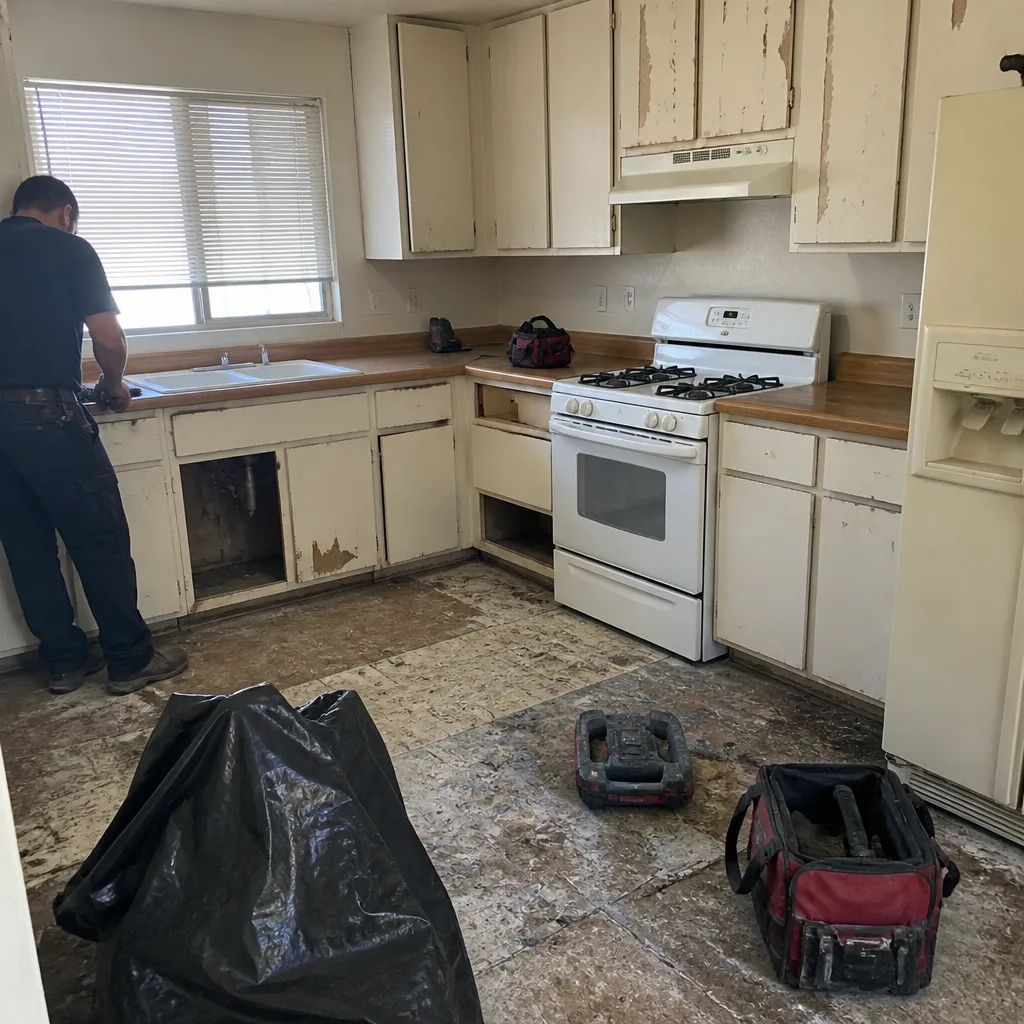
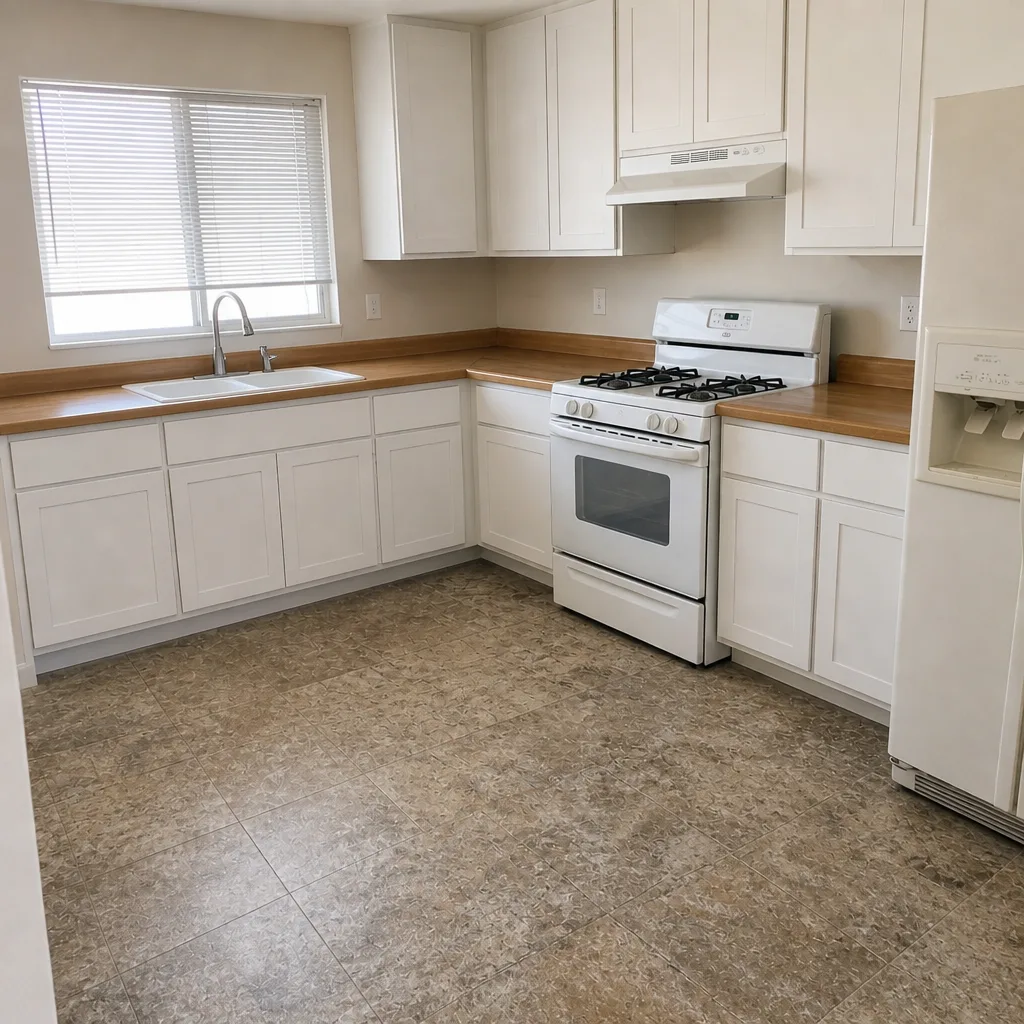
See the difference
 Before
 After
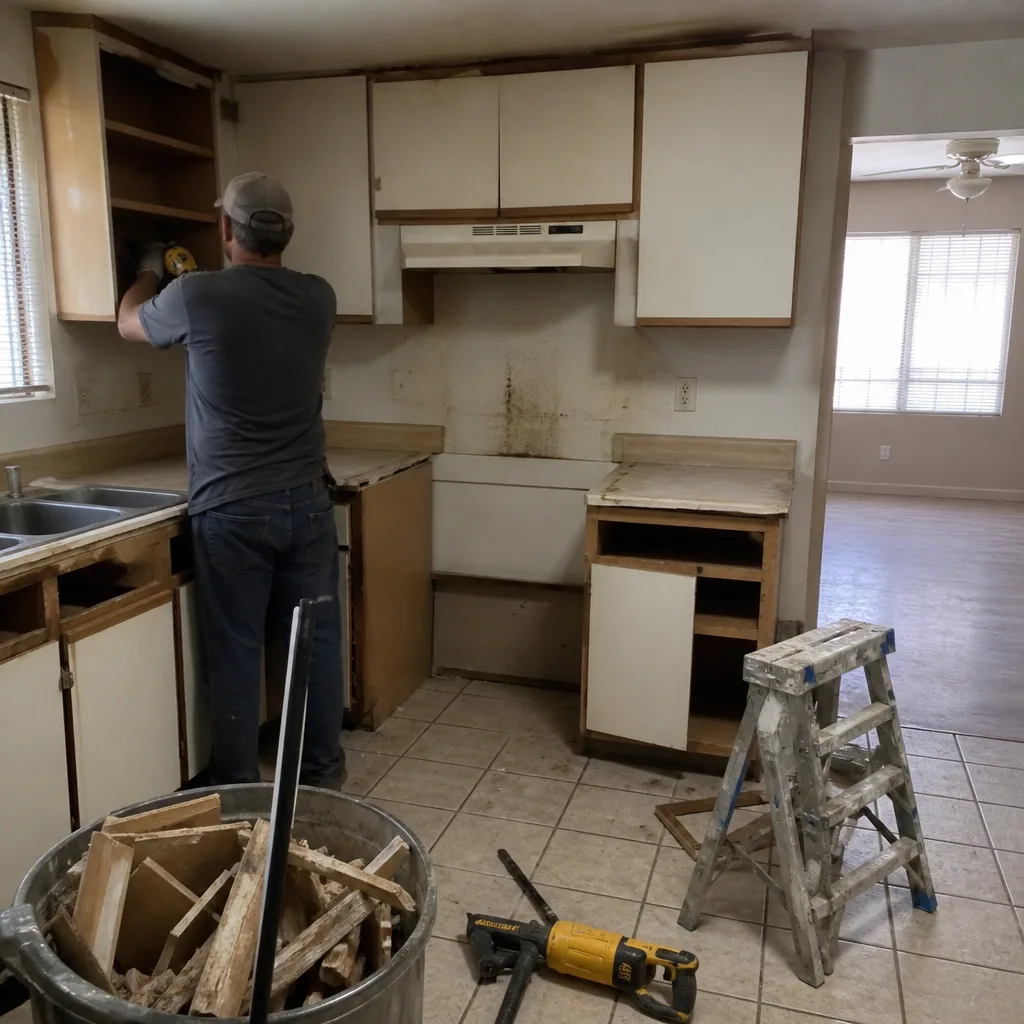 Before
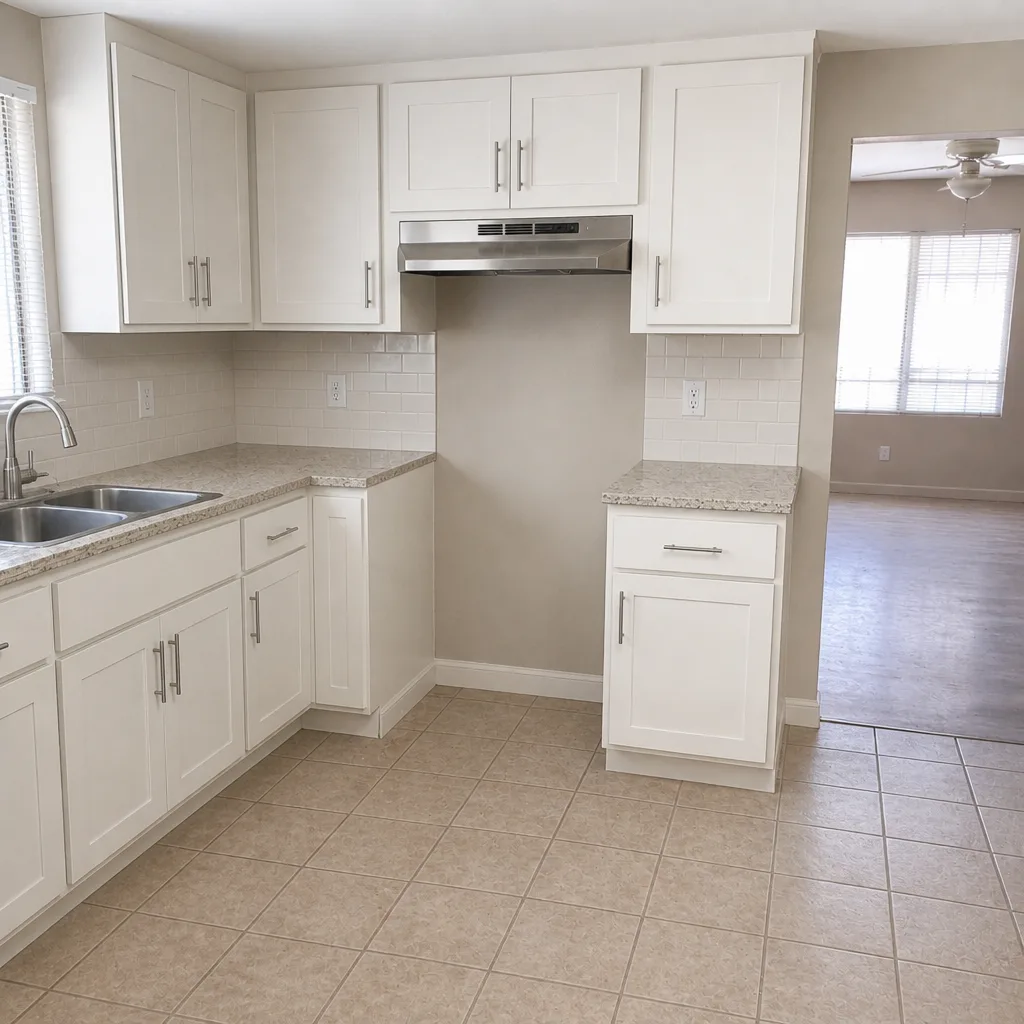 After
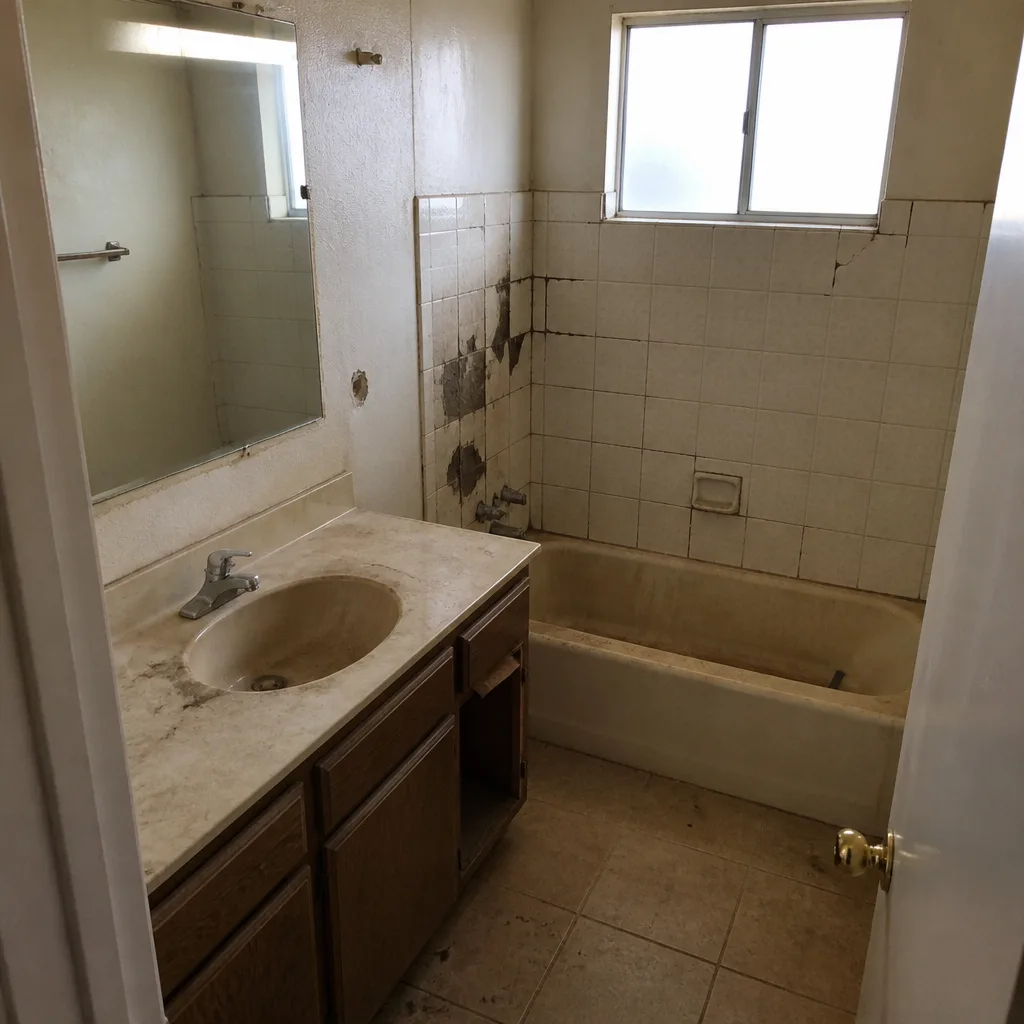 Before
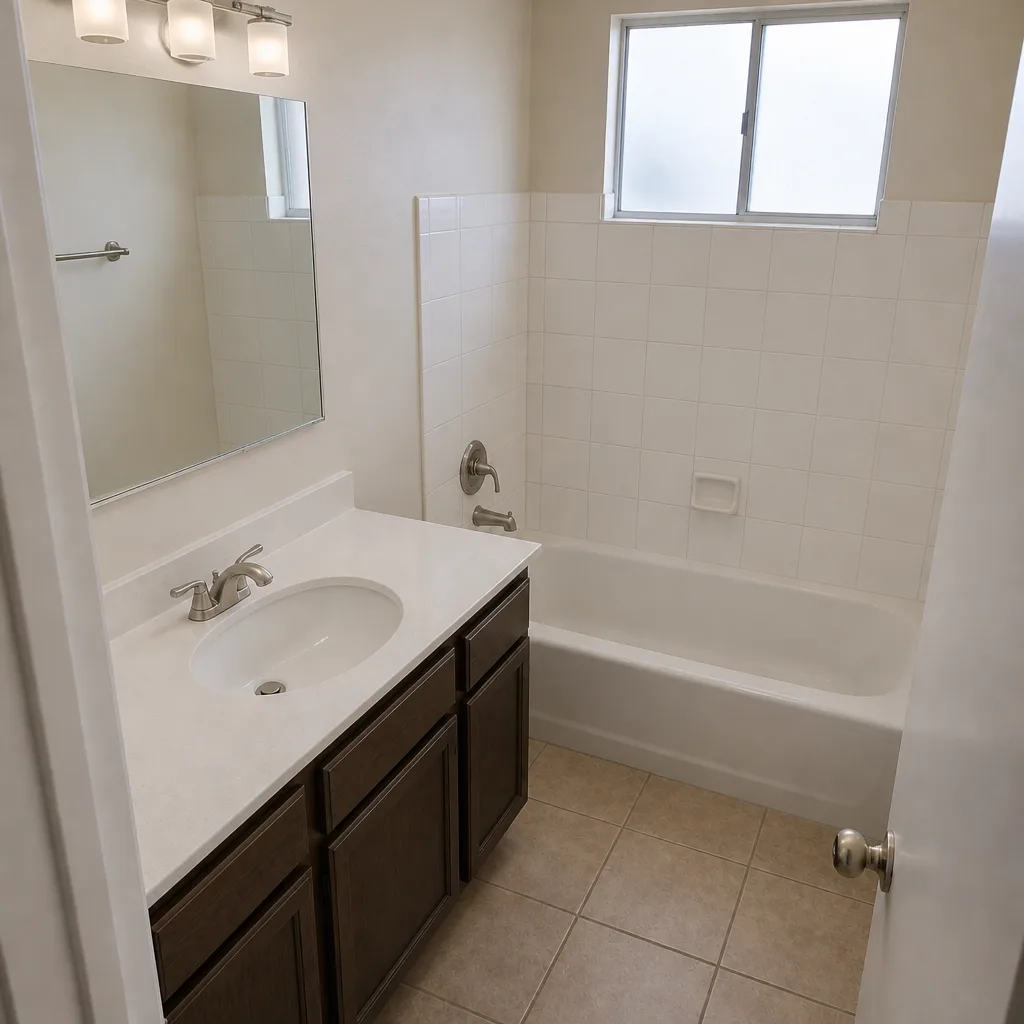 After
When to Call a Professional
Call a professional when pavers move more than 1/8 inch underfoot, when you see a tent or a ridge that changes shape year over year, when the joint sand won’t hold within a month of top-off, or when water pools against the house or garage slab after a storm. Call before paver edges chip, because chipped pavers turn a $600 repair into a $2,400 repair faster than you’d think.
Barrett & Sons Construction Las Vegas offers free estimates in Las Vegas, and every scope, allowance, and price change comes in writing before work starts. We pull permits on every eligible job, and our crews work with Belgard and Techo-Bloc pavers and materials you can look up, not mystery brands off a van. Our technicians have up to 28 years of experience, and every completed driveway is backed by our 90-Day Done Right Promise. Call (866) 814-4155 for a free estimate. A live person answers, day or night.
Frequently Asked Questions
Every three to five years is the normal interval for a Las Vegas paver driveway. UV index 10 plus from May through August, hard water, and caliche soil all shorten the sealer’s life compared to milder climates. If you see water soaking in instead of beading on the surface, it’s time, regardless of the calendar. Call (866) 814-4155 for an exact quote on resealing; estimates are free.
Press a flathead screwdriver into a joint with moderate hand pressure. Good polymeric sand resists and barely dents. Failing sand crumbles or powders. Confirm with a cup of water: failing sand drinks it in immediately instead of beading. If two of three random joints fail, plan a reseal and joint top-off before pavers start moving.
That’s efflorescence, mineral salts migrating up through the joints with moisture. It’s common in Las Vegas because the water is hard and irrigation cycles pull salts up to the surface. A dry brush removes the visible bloom, but if it returns every year in the same spot, the moisture path is the real problem and needs to be addressed.
Local paver repair runs roughly $350 to $900 for a typical small repair (three to six pavers on a base fix), $1,200 to $2,800 for a partial reseat over a larger section, and $6 to $12 per square foot for a full driveway rebuild depending on base conditions. The range is wide because base repair costs vary with caliche. Call (866) 814-4155 for a written, line-item quote. Estimates are free.
Not without a written change order you sign first. If we open the base and find caliche where the estimate assumed clean soil, we stop, write up the difference, and hand it to you before touching another paver. No surprise invoices at the end.
Yes, on every job that requires one. Clark County and City of Las Vegas have different thresholds for driveway widening and new hardscape that affects drainage to the street, and we pull the permit and pass the inspection on every eligible job. The permit inspector works for you, not for us, and we like it that way.
The Bottom Line
A Las Vegas paver driveway will last decades if you treat it as a yearly maintenance item, not a set-and-forget surface. The three things that matter most: test polymeric sand every spring with a screwdriver, seal in the April window and skip the summer heat, and inspect after every monsoon storm from July through September. Learn to tell caliche heave from settling from root lift and you’ll never waste money on the wrong repair. Get your warranty in writing, in plain English, with tolerances and no broad weather exclusions. And before any repair, look up the license. For anything below the surface, call a pro.
If you need a free estimate on paver maintenance, resealing, or repair, call (866) 814-4155. We’re happy to look at photos over the phone or on your driveway. And if you’re planning a larger outdoor project, start with Barrett & Sons Construction Las Vegas home to see everything we do.
Written by the team at Barrett & Sons Construction Las Vegas.